Making Bucket Drums

Materials needed: bucket, duct tape, rope.
Any bucket will do, metal, plastic, big, small, with handle, without. Duct
tape also comes in eye-pleasing colors. Thicker rope tends to more comfortable
when
used as a belt or strap; thin cord is uncomfortable.
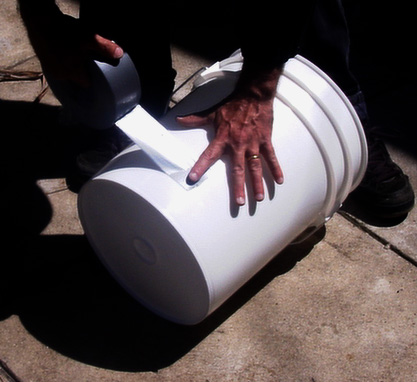
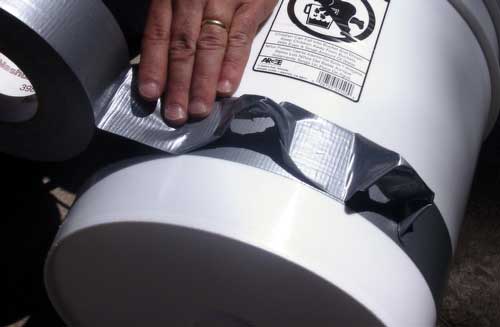
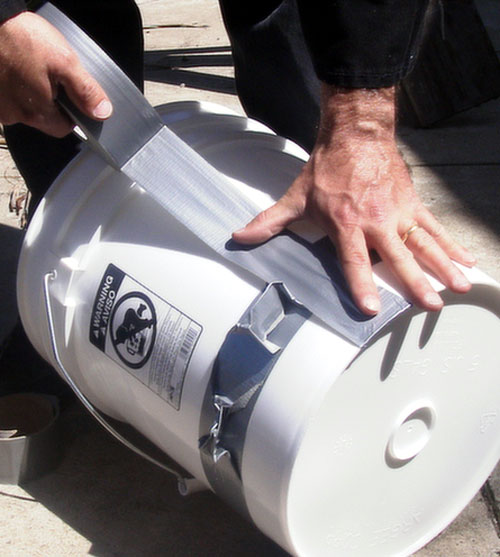
Start taping a few inches from the bottom of the bucket.
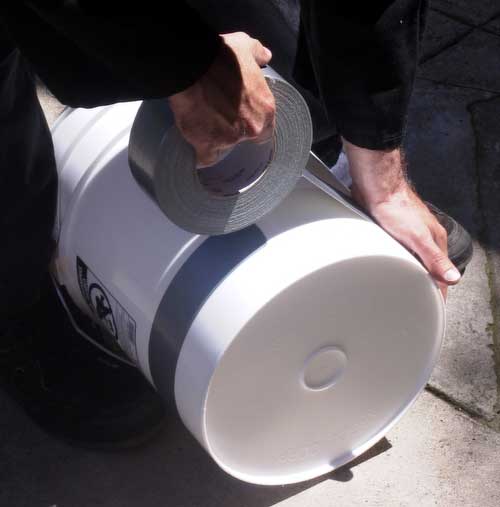
Tape all the way around the bucket, and overlap where you started a little.
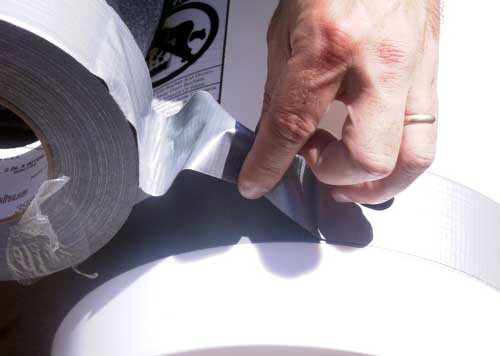
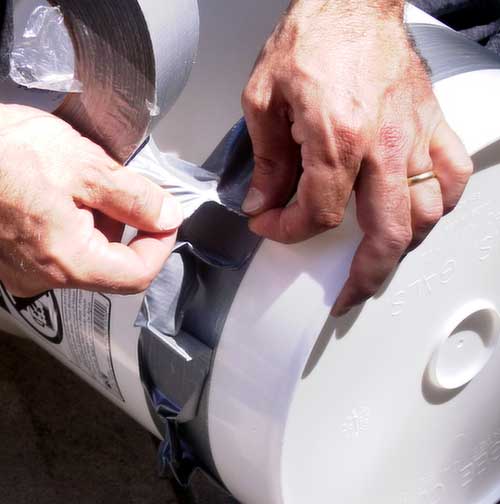
Pinch an inch to make a loop. Fold the tape and stick it to itself.
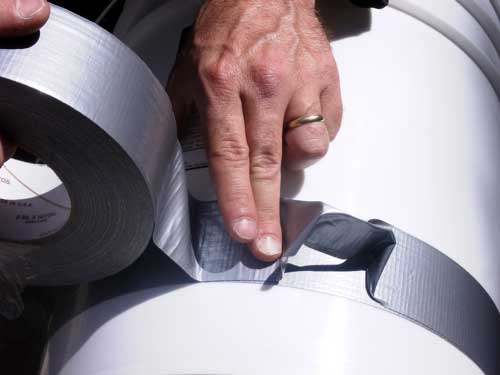
Scoot the pinch back and continue taping. Leave space in between the two loops.
Wider spacing works better for belt straps and needs and extra vertical reinforcement.
Narrow spacing, show below, works better for shoulder straps and needs only
one vertical reinforcement between the two loops.
Make a second loop, and continue taping.
Tape all the way around again, and tear off. For extra strong loops, continue
all the way around again: good for extra heavy buckets/barrels.
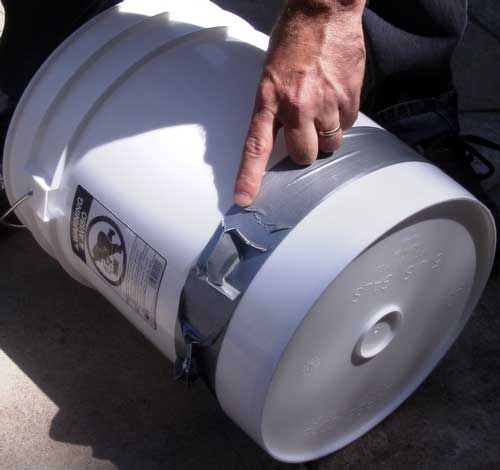
Single piece of duct tape with two loops, you can skip to straps if you
want.
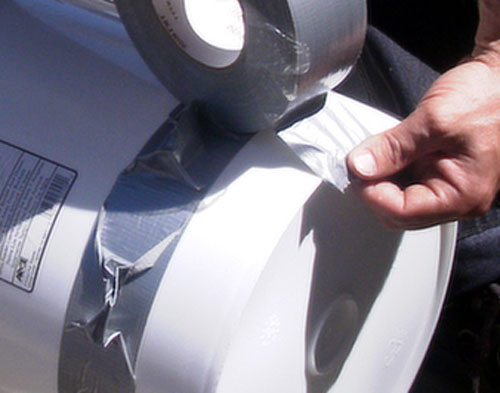
vertical reinforcement, start at lip of the bottom of the bucket, along
side the loop
Continue along the length of the bucket, and tear.
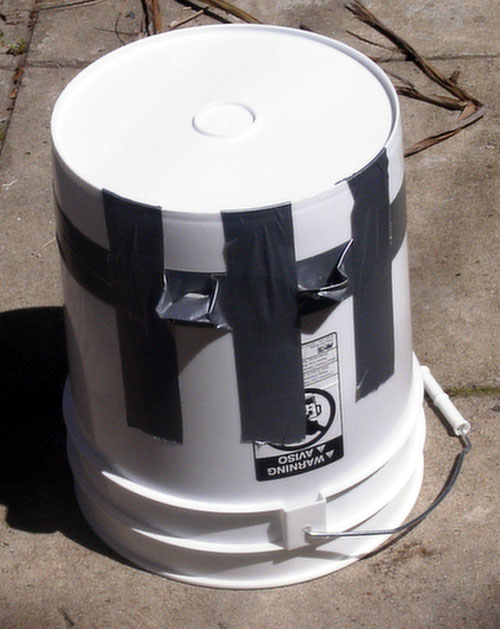
reinforce the sides of all the loops.
For additional reinforcement, add
concentric bands of tape above and below the loops: good for irregular
outside bucket surfaces. (not shown here)
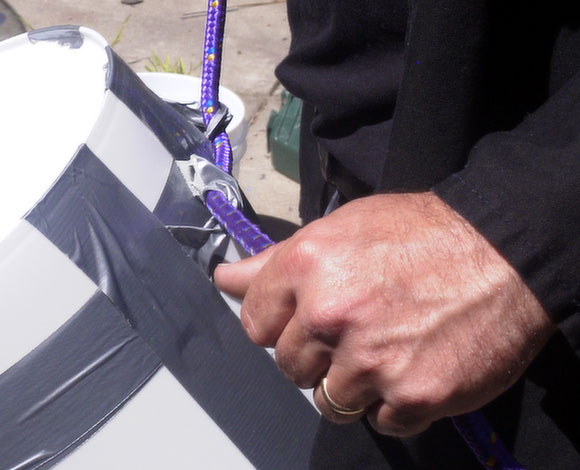
Insert
the rope through the loops. and tie around waist or over shoulder.
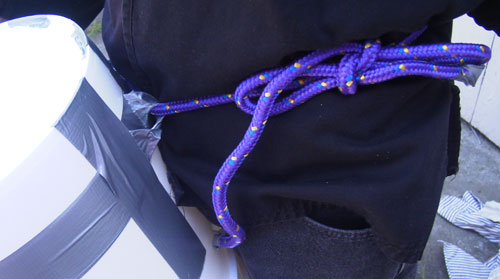
For waist belt: Pull tight around your waist and tie. For shoulder adjust
the length and tie.
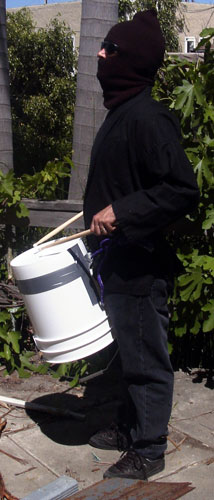
Waist
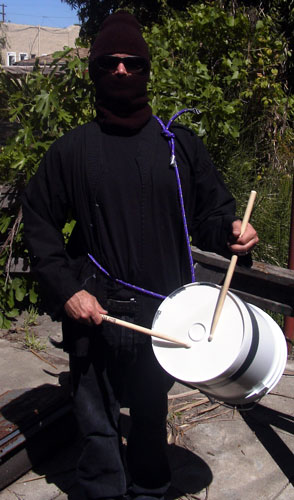
Shoulder
Tying around your waist gives less bouncing as you walk and allows you
to use the matched grip on your sticks, but your elbows are unnaturally
back.
Tying
over one shoulder is a little harder to control and requires the traditional
grip on your sticks, but is more ergonomic so you can play for longer.
Notice the different sounds you can get by hitting different parts of the
bucket.
When the bottom (facing up) of the bucket splits, salvage the rope and
throw the rest away.
Please let us know how these work for you.
Drums & Demonstration


